Try Falcosidekick on Kubernetes
0. Requirements
0.1 Environment
This environment requires of a Kubernetes environment of at least 1 node.
1. Deploying Falcosidekick
These are the main steps to deploy Falcosidekick on Kubernetes using Helm. Follow them and you should be able to use Falcosidekick in a matter of minutes.
1.1 Install kernel headers
Run the following command to install the kernel headers on every Kubernetes node:
sudo apt-get -y install linux-headers-$(uname -r)
This step might not even be necessary if the specific driver for the Linux kernel in your Kubernetes cluster is prebuilt and offered by Falco.
Otherwise, the the presence of the kernel headers will allow the installer to build the Falco driver for you.
1.2 Add Falco chart repository
Run the following command to add the falcosecurity charts repository:
helm repo add falcosecurity https://falcosecurity.github.io/charts
helm repo update
1.3 Deploy Falco including Falcosidekick
Run the following command to deploy Falco, Falcosidekick and Falcosidekick-UI:
kubectl create namespace falco
helm install falco -n falco --set tty=true falcosecurity/falco \
  --set falcosidekick.enabled=true \
  --set falcosidekick.webui.enabled=true
In case Falco had been already deployed using this method, use
upgradeinstead ofinstall.
1.4 Verify the Falco deployment
Verify that Falcosidekick and Falcosidekick-UI are running correctly using
the kubectl command:
kubectl get pods -n falco
Wait until all the pods are ready:
kubectl wait pods --for=condition=Ready --all -n falco
Run the following command to look at Falcosidekick logs.
kubectl logs -l app.kubernetes.io/name=falcosidekick -n falco
The output should be similar to the following:
2023/01/26 12:26:38 [INFO]  : Falco Sidekick version: 2.27.0
2023/01/26 12:26:38 [INFO]  : Enabled Outputs : [WebUI]
2023/01/26 12:26:38 [INFO]  : Falco Sidekick is up and listening on :2801
2. Trying Falcosidekick in action
2.1 Generate a suspicious event
Run the following command to simulate a suspicious event:
kubectl exec -it alpine -- sh -c "uptime"
Check the logs again:
kubectl logs -l app.kubernetes.io/name=falcosidekick -n falco | grep "OK"
The output should be similar to the following:
2023/01/26 12:28:16 [INFO] : WebUI - Post OK (200)
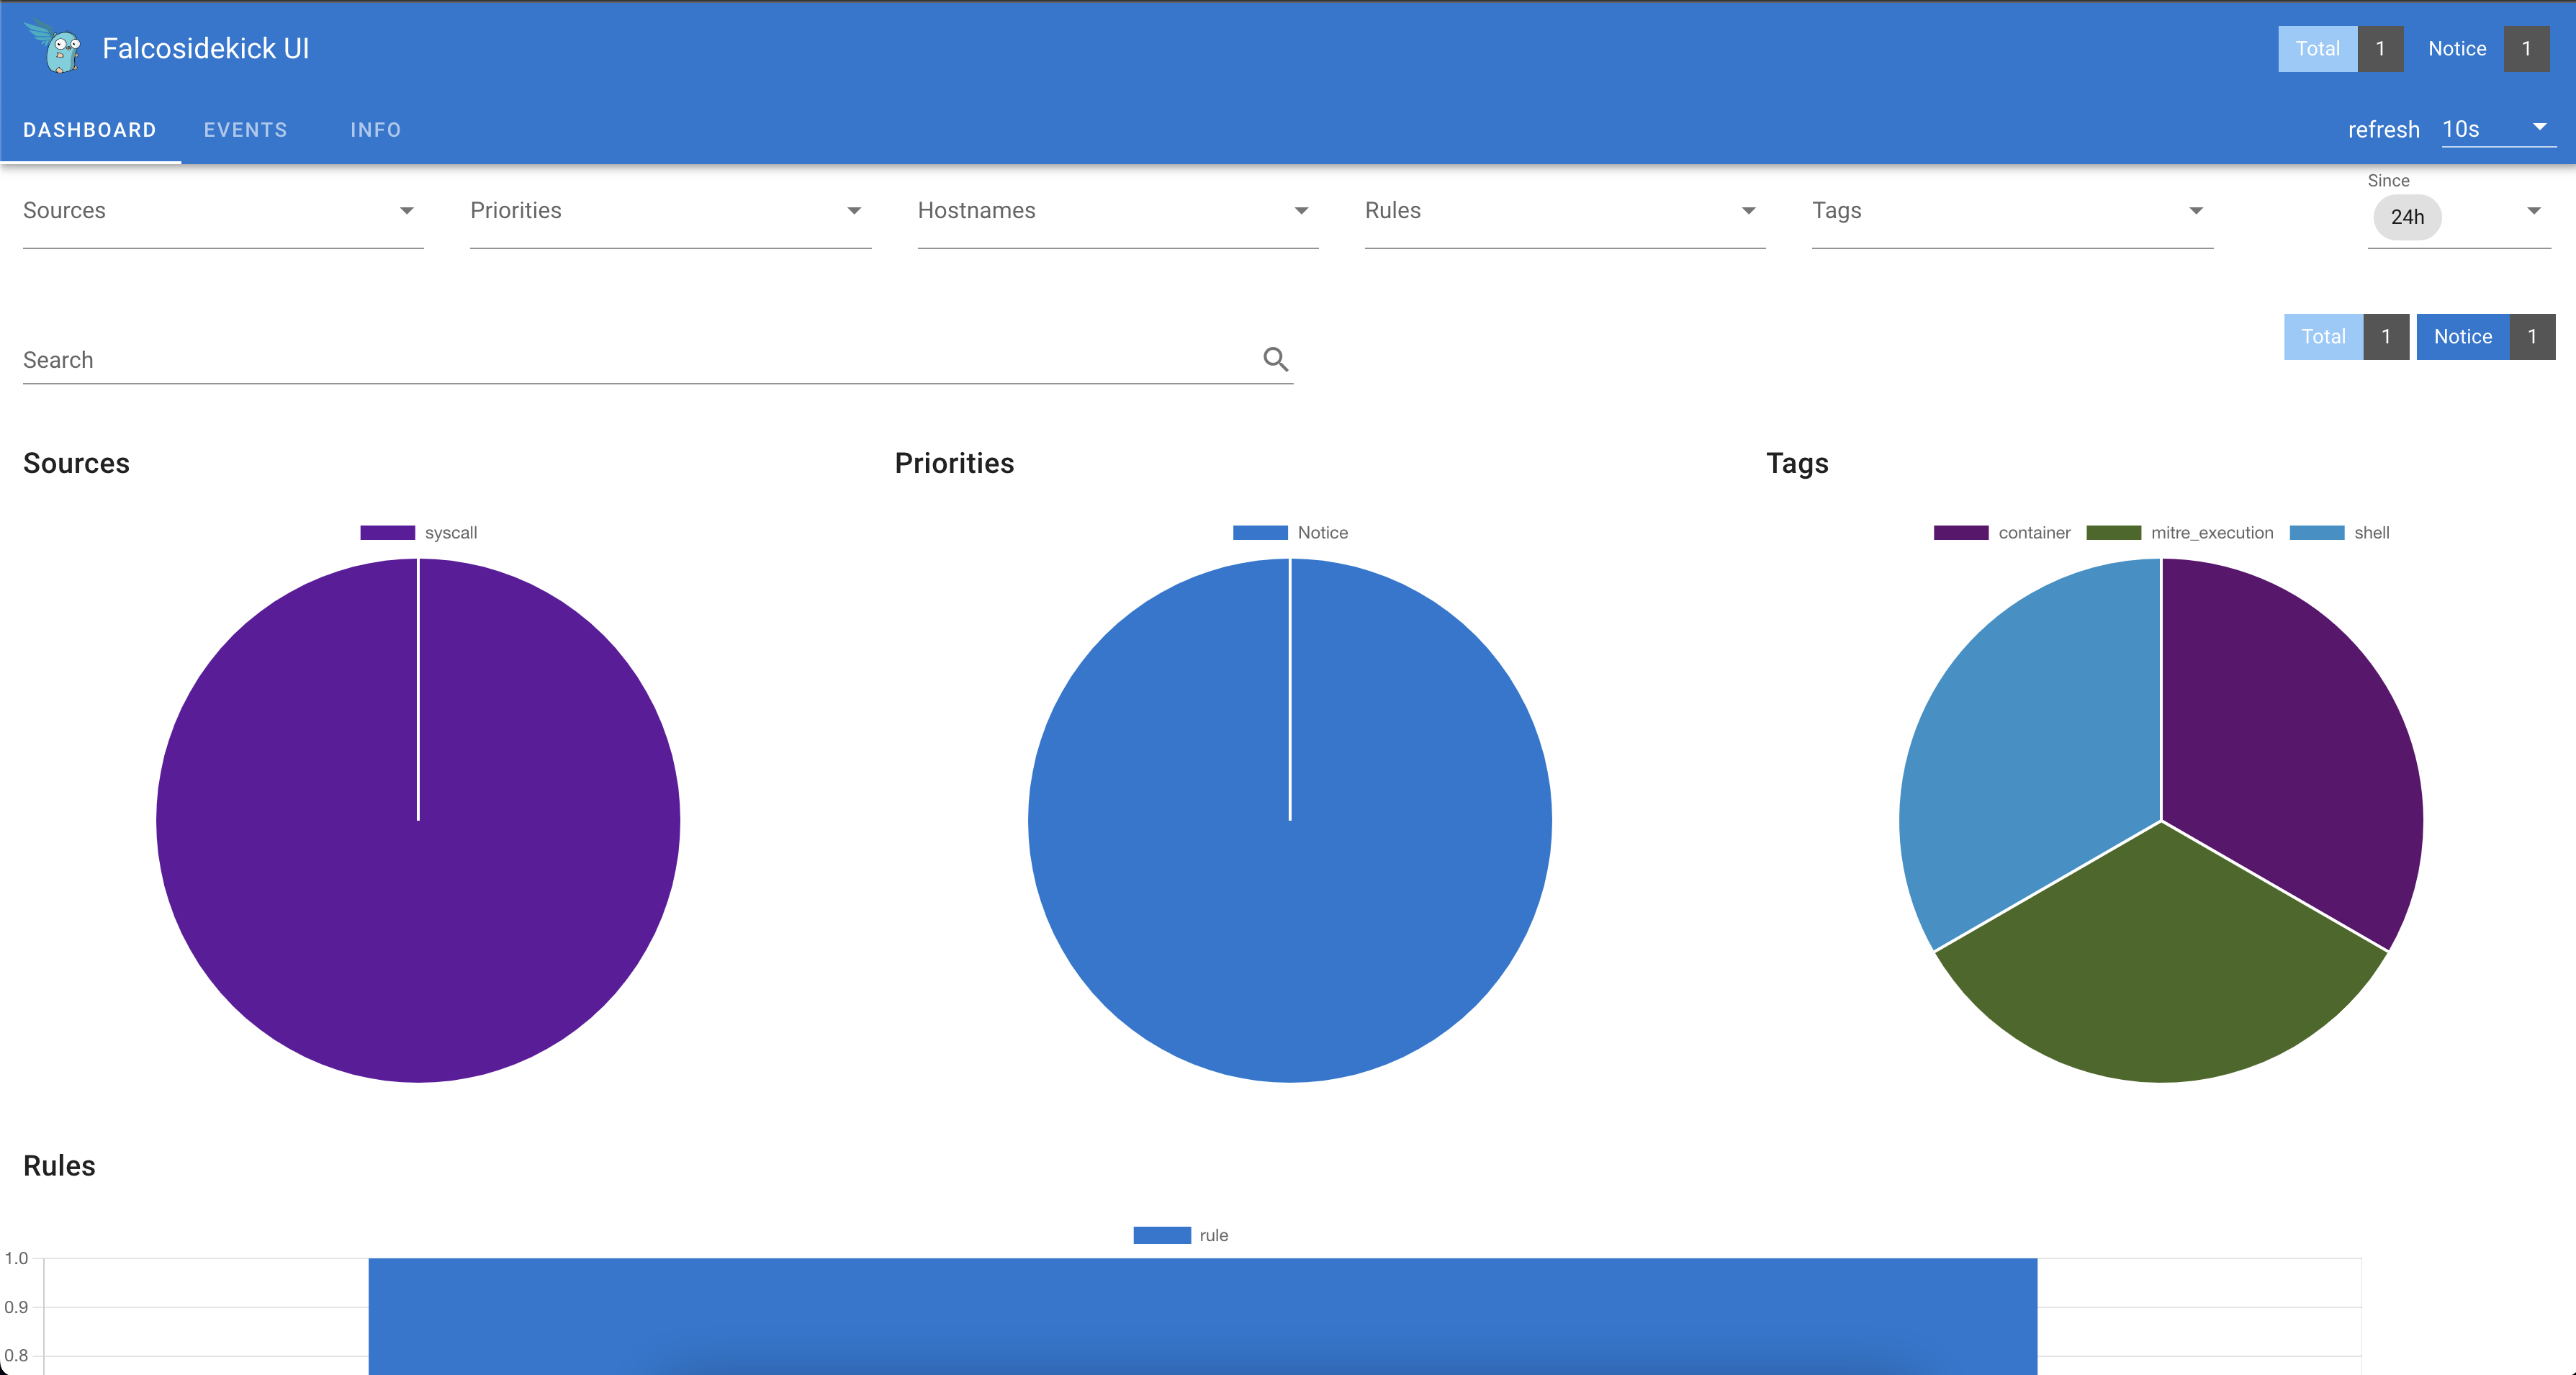
2.2 Access the Falcosidekick UI Dashboard
To access the Falcosidekick UI, create a port forward to expose the service:
kubectl port-forward svc/falco-falcosidekick-ui \
  -n falco --address 0.0.0.0 2802 &> /dev/null &
There must be already a few events. Click on them to see the events detail.
2.3 Event Generator
It is better to explore the Falcosidekick UI with more events.
Run the following command to use event-generator to generate a variety of suspect actions that are detected by Falco rulesets.
kubectl run event-generator -n falco --image falcosecurity/event-generator \
  -- run syscall --loop
Alternatively, if you can run Docker containers on the Kubernetes node:
sudo docker run -it --rm falcosecurity/event-generator \
  run syscall --loop
At this point, you can explore Falcosidekick UI. Notice the different priorities and tags.
Congratulations, you finished this scenario!
You should be able to install Falcosidekcik in any Kubernetes cluster and watch for suspicious behavior.
Click on Try Falco and try out the next scenario.
Was this page helpful?
Let us know! You feedback will help us to improve the content and to stay in touch with our users.
Glad to hear it! Please tell us how we can improve.
Sorry to hear that. Please tell us how we can improve.